
Have you developed a Dash application which works locally, and now want to share it with the world? Let’s see how to deploy your Python web app on a server 24/7 for free, so anyone can access it through a link.
In this post we’ll have a look on how to pubish a Dash application: First, we’ll briefly introduce Dash (it’s not in the scope of this post to explain the development of a Dash application). Sencondly, we’ll see how to set up a web app using pythonanywhere. Lastly, we’ll se how to make your Dash application run 24/7 and make it available through a link.
What’s Dash
Dash is a Python framework for building web applications and enables you to build dashboards using pure Python. Dash is open source, and its apps run on the web browser.
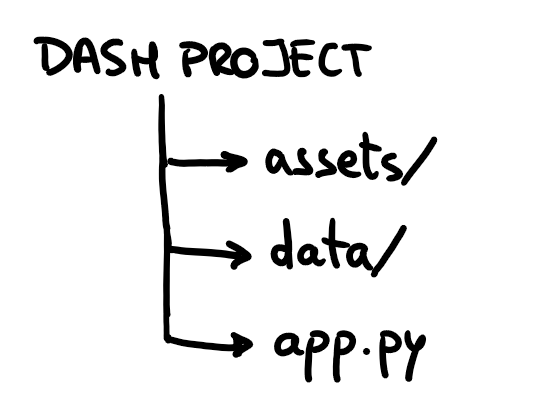
A Dash project usually has the following structure:
- app.py: the main Python app.
- assets folder: contains resources for fonts, images, and CSS.
- data folder: contains the data files used by the application.
How to Publish your Dash App
Once you’ve built your Dash application, let’s get into how to share it with the world!🌍
Set up the web app 🔧
Sign up to pythonanywhere.com by creating a Beginner account.
On the top bar go to Web > Add a new web app :
- Click on Next.
- Select Flask as the Python Web framework.
- Choose the Python version you used to develop the app.
You can check the Python version on your computer by running the following code in Python:
import sys
print(sys.version)
4. Leave the path by default and click Next.
Now your web app is set up and can be accessed through the link that you’ll find in the web dashboard:
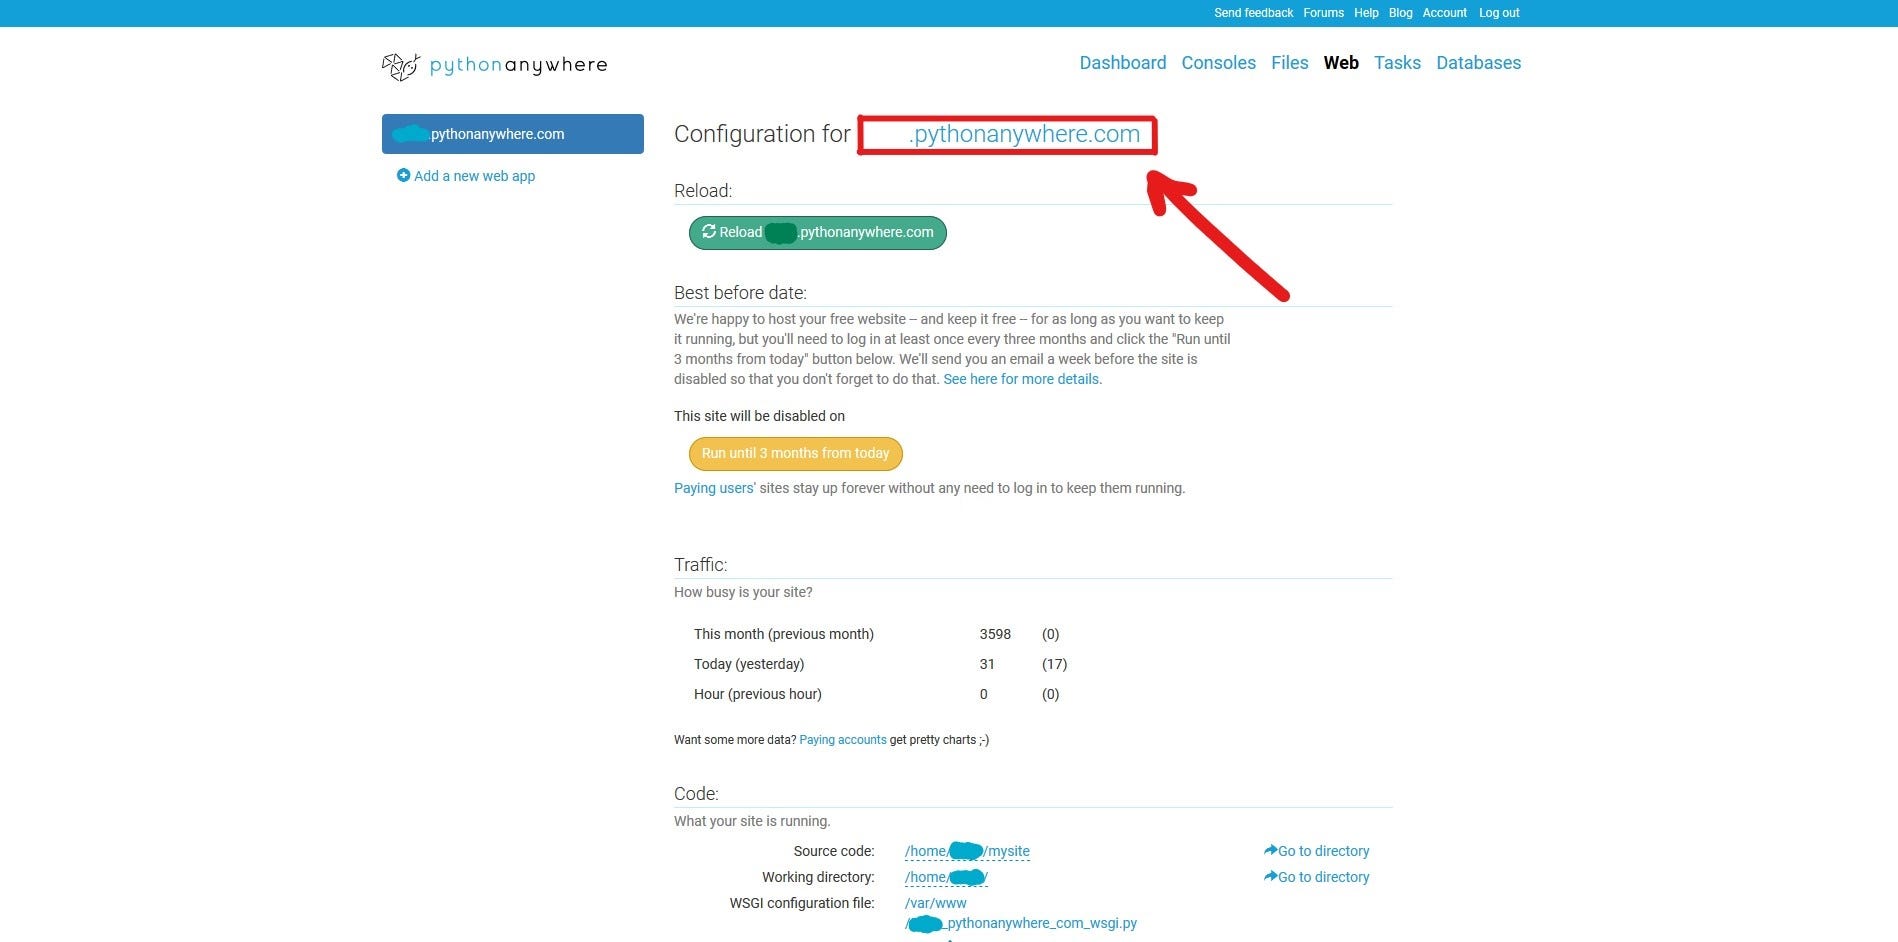
When you enter you’ll see the default app, which we’re now going to replace by our Dash app.
👉IMPORTANT: This is the link from which anyone will be able to access you web app.
Upload your files📤
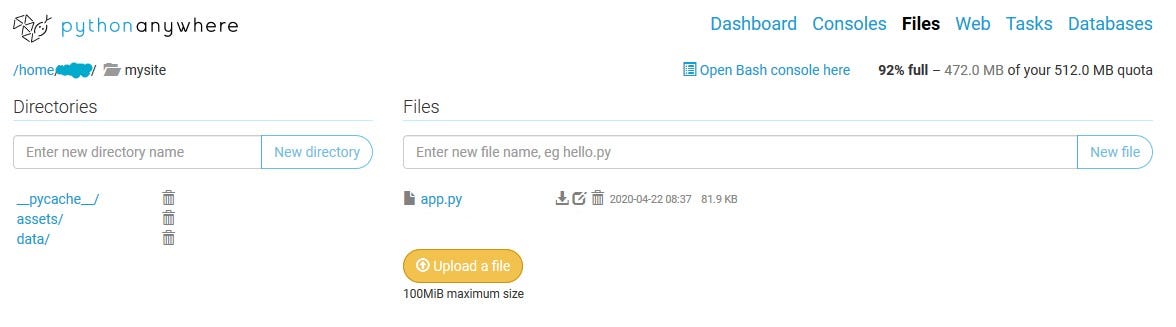
On the top bar go to Files and, in the Directories sidebar, click on mysite/. Inside, you’ll find a file named flask_app.py. This file contains the default code that is currently running as your web app. You can just delete this file.
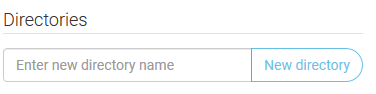
Now you can start uploading the files of your own project. You should be able to recreate the same file structure that you have locally in your computer, by creating new folders and uploading the files.
Once you uploaded all the files you should have something like this inside the mysite/ folder. Make sure app.py (the main dash app file) is not inside any other folder.
👉Note: if your app needs to access data from other folders, once you upload the necessary files, remember to change the path inside app.py . You can just click on the file to open it to replace the path. For example, if I wanted to access a file inside the data/ folder, the new path would be /home/user_name/mysite/data/file.csv.
Install the dependencies🎒
On the top bar, go to Consoles. Here, you’ll find the Bash console, which is the usual terminal that you’ll find in your computer, as well as the Python console.
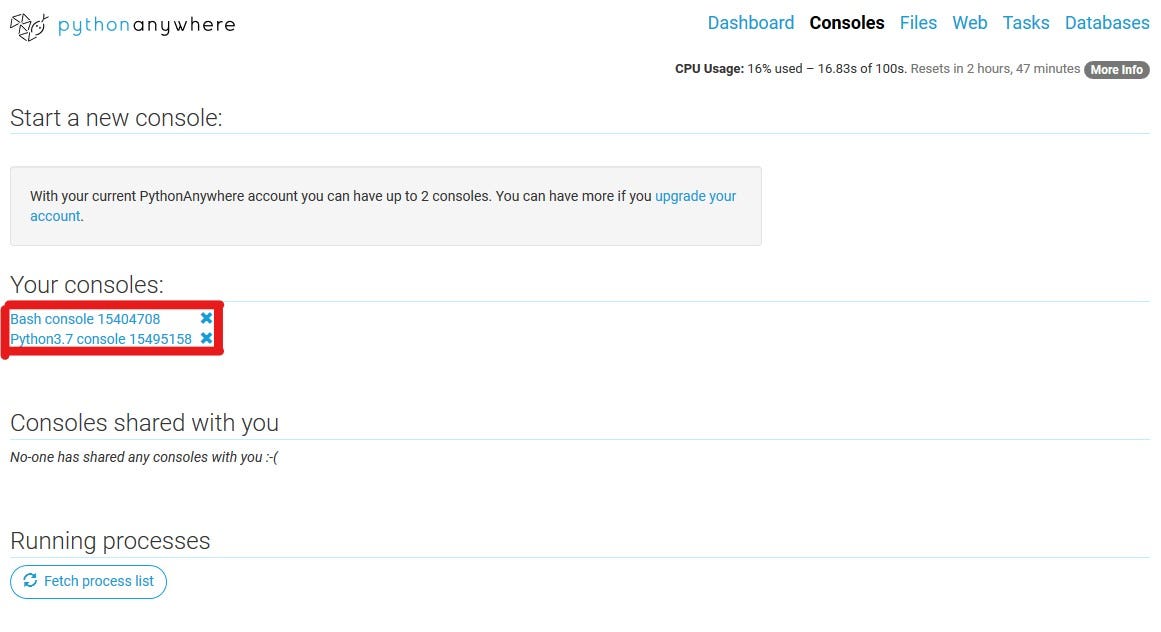
Enter the Bash Console to install any Python dependency that you should need for the normal functioning of your app.
👉Quick Tip: try to install the same library versions of your computer to ensure you don’t get any unexpected errors.
Last step🏁
On the top bar, go to Web and in the Code section open the WSGI configuration file.
You’ll see a line that says:
from flask_app import app as application
and you’re going to replace that for:
from app import app
application = app.server
Click Save and inside the Web tab click Reload to update the app with the new files.
Congrats!🥳 Now anyone can access the link [your-username].pythonanywhere.com to use your app 🎉🎉🎉
If you were to see any errors, you can always check the Error log file. You can find it in the Web tab, inside the Log files section.
If you’re reading this, thank you for your time and I really hope you got some value from this post😊
See you in the next one! 🚀
(P.S. If something isn’t clear, I’m glad to help🤓)