Categories
Computer Science

The GitHub Cheat Sheet

GitHub is one of the most popular services for hosting software development version control using Git. If you still aren’t familiar with Version Control and Git, you can check out my previous post, The Git Cheat Sheet, where I explain the basics.

Why use GitHub, anyways?

As a developer, you might feel comfortable working on your own local repository using version control. However, collaboration is crucial, as most of the time, you won’t be working by yourself on a project. You’ll be working with a team at your company, or perhaps with people you don’t even know from around the globe. Whether you want to work on smaller projects, or in huge open-source projects, collaboration is an important skill to have as a developer.

GitHub makes it easy to collaborate on a version control project. So, in this post, we’ll learn in a practical way the basics of how to collaborate using GitHub.

Add a Remote Repository

Use this command when you want a local repository to communicate with a remote repository from GitHub. Basically, with this command you’re telling your computer to create a connection between your local repo and the specified remote repo, which will be referred to as origin (it’s a shortname).

$ git remote add origin <https://github.com/username/repository.git>

When you clone a remote repo into your local device this connection is done automatically.

Sending Commits

My remote repo’s shortname is origin and the commits that I want to push are on the master branch. So I’ll use the following command to send my commits to the remote repository on GitHub: $ git push origin master

Pulling Changes From Remote Repository

To sync the local repository with the remote we need to use git pull. Similarly to git push, you provide the shortname for the remote repository and then the name of the branch you want to pull in the commits.

$ git pull origin master

Fetch

If you don’t want to automatically merge the local branch with the remote tracking branch then you wouldn’t use git pull, instead, you would use git fetch. You might want to do this if there are commits on the remote repository that you don’t have but there are also commits on the local repository that the remote one doesn’t have either. In this case, you want to fetch the remote changes to get them in your local branch and then perform a merge manually. Then you can push that new merge commit back to the remote.

Wait, so what’s the difference between Pull and Fetch?

You can think of the git pull command as doing two things:

  1. fetching remote changes (which adds the commits to the local repository and moves the tracking branch to point to them).
  2. merging the local branch with the tracking branch.

The git fetch command is just the first step. It just retrieves the commits and moves the tracking branch. It does not merge the local branch with the tracking branch.

Fork

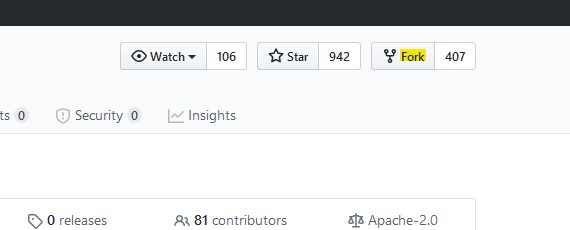
When you fork a repository, you’re creating an identical copy of that repo and storing it in your profile. Modifying the forked repo will not affect the original.
Shortlog

When collaborating with other developers on a project, it can be useful to know who did what. git shortlog will show you the commits grouped by author.

You can add the flags -s to see just the number of commits and -n to sort them numerically: $ git shortlog -s -n

Rebase

We need to be as clear as possible when making changes in a collaborative project. This will help other developers understand what we did.

Let’s imagine you made three consecutive commits that were all minor typo fixes, the best thing to do here is to combine those three commits into one.

For this example, you would use: $ git rebase -i HEAD~3

git rebase will move commits to a new base. In this example, HEAD~3 means three before HEAD (HEAD is your current location).


It looks like you’re now ready to collaborate on GitHub! 🎉 I know the learning curve can be steep sometimes, but it’s definitely worth sticking to it. Hope this was a helpful introduction for you 😊

Categories
Computer Science Data Science

The Easiest Way to Deploy Your Dash App for Free

Have you developed a Dash application which works locally, and now want to share it with the world? Let’s see how to deploy your Python web app on a server 24/7 for free, so anyone can access it through a link.

In this post we’ll have a look on how to pubish a Dash application: First, we’ll briefly introduce Dash (it’s not in the scope of this post to explain the development of a Dash application). Sencondly, we’ll see how to set up a web app using pythonanywhere. Lastly, we’ll se how to make your Dash application run 24/7 and make it available through a link.

What’s Dash

Dash is a Python framework for building web applications and enables you to build dashboards using pure Python. Dash is open source, and its apps run on the web browser.

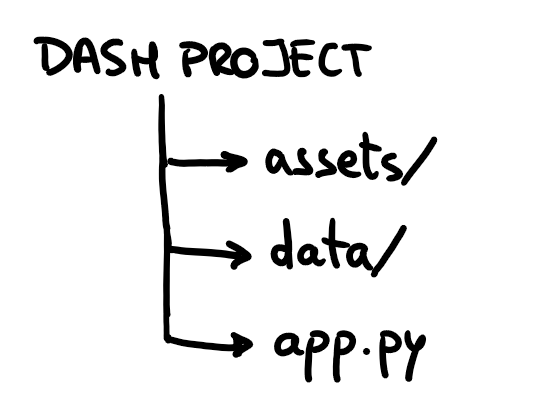
A Dash project usually has the following structure:

  • app.py: the main Python app.
  • assets folder: contains resources for fonts, images, and CSS.
  • data folder: contains the data files used by the application.

How to Publish your Dash App

Once you’ve built your Dash application, let’s get into how to share it with the world!🌍

Set up the web app 🔧

Sign up to pythonanywhere.com by creating a Beginner account.

On the top bar go to Web > Add a new web app :

  1. Click on Next.
  2. Select Flask as the Python Web framework.
  3. Choose the Python version you used to develop the app.

You can check the Python version on your computer by running the following code in Python:

import sys
print(sys.version)

4. Leave the path by default and click Next.

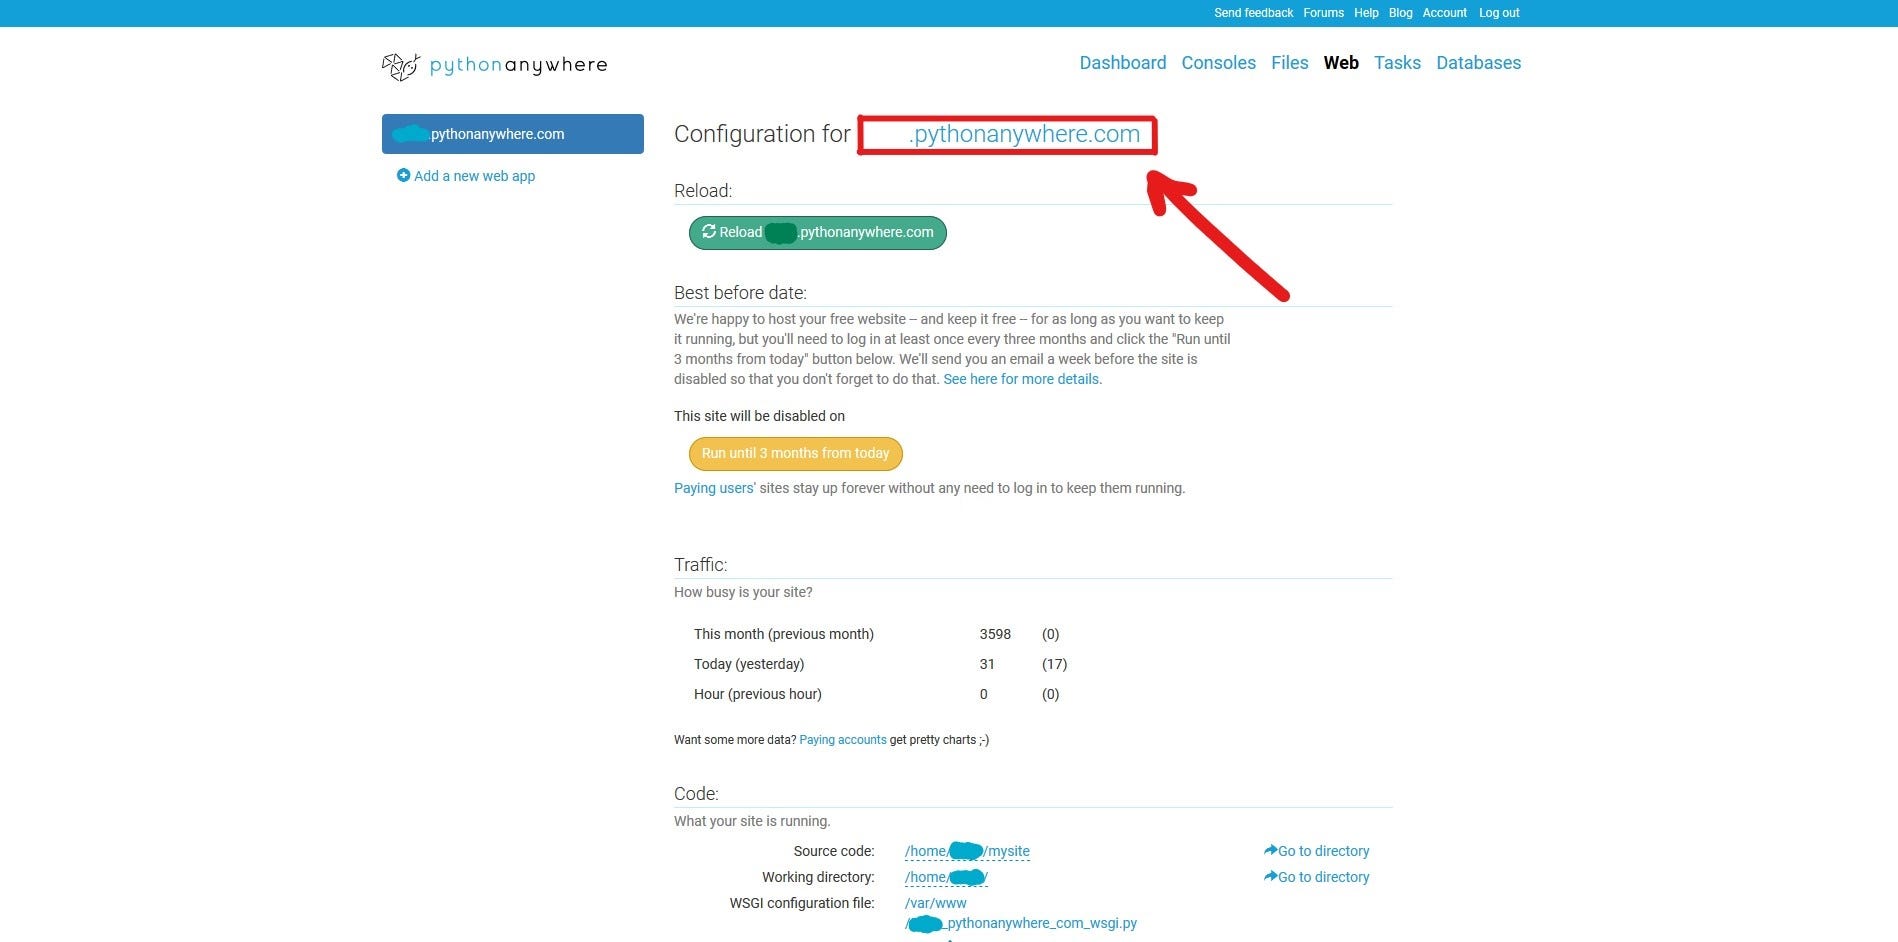
Now your web app is set up and can be accessed through the link that you’ll find in the web dashboard:

When you enter you’ll see the default app, which we’re now going to replace by our Dash app.

👉IMPORTANT: This is the link from which anyone will be able to access you web app.

Upload your files📤

On the top bar go to Files and, in the Directories sidebar, click on mysite/. Inside, you’ll find a file named flask_app.py. This file contains the default code that is currently running as your web app. You can just delete this file.

Now you can start uploading the files of your own project. You should be able to recreate the same file structure that you have locally in your computer, by creating new folders and uploading the files.

Create new folder.

Once you uploaded all the files you should have something like this inside the mysite/ folder. Make sure app.py (the main dash app file) is not inside any other folder.

👉Note: if your app needs to access data from other folders, once you upload the necessary files, remember to change the path inside app.py . You can just click on the file to open it to replace the path. For example, if I wanted to access a file inside the data/ folder, the new path would be /home/user_name/mysite/data/file.csv.

Install the dependencies🎒

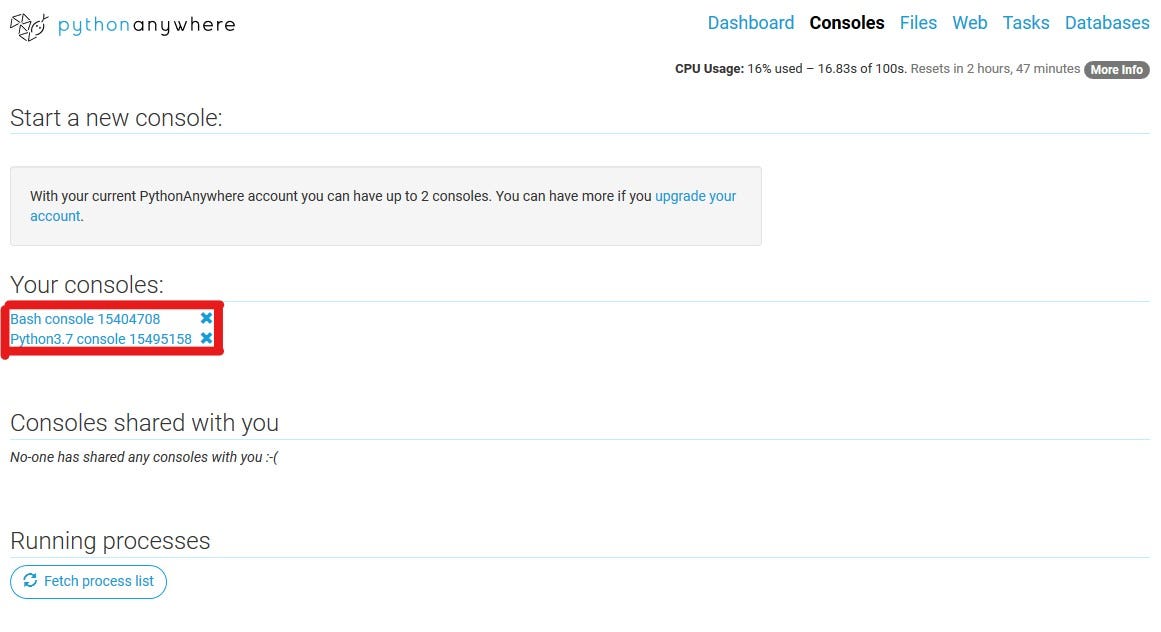
On the top bar, go to Consoles. Here, you’ll find the Bash console, which is the usual terminal that you’ll find in your computer, as well as the Python console.

Enter the Bash Console to install any Python dependency that you should need for the normal functioning of your app.

👉Quick Tip: try to install the same library versions of your computer to ensure you don’t get any unexpected errors.

Last step🏁

On the top bar, go to Web and in the Code section open the WSGI configuration file.

You’ll see a line that says:

from flask_app import app as application

and you’re going to replace that for:

from app import app
application = app.server

Click Save and inside the Web tab click Reload to update the app with the new files.

Congrats!🥳 Now anyone can access the link [your-username].pythonanywhere.com to use your app 🎉🎉🎉

If you were to see any errors, you can always check the Error log file. You can find it in the Web tab, inside the Log files section.


If you’re reading this, thank you for your time and I really hope you got some value from this post😊

See you in the next one! 🚀

(P.S. If something isn’t clear, I’m glad to help🤓)